pcNetworking
The User's Information
Security Source
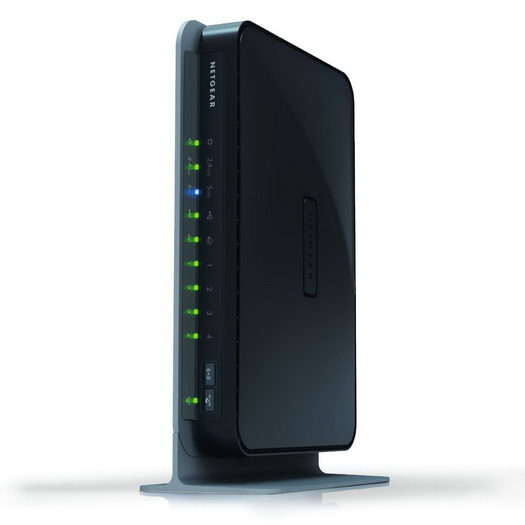
Building Your NetworkAs you are visiting our site, you're like looking for information on building networks and leveraging the collective power of your digital resources. This fundamental article will take you through the concepts you need to understand to get your network up and running. To provide this tutorial we are going to be using the NETGEAR RangeMax Dual Band Wireless-N Gigabit Router model WNDR3700. While any wireless router will work for your small network, this device was chosen due to it's performance and feature set as well as it's affordability. At an average asking price of around $130, it packs a lot of bang for the buck and has been a very reliable device in our test environment and is readily available in retail and online markets.
The images will vary from device to device but your router should have some if not all of the features that will be displayed related to the WNDR3700. As we want to get our network together quickly, let's take a look at the back of the device where everything plugs in first.
From left to right we see the power button, the power supply port, four RJ-45 network LAN ports, one RJ-45 yellow port which in this case signifies it is our external WAN port, and a USB port. The configuration is very typical of many wireless routers available today with an average of four network connections for your internal network and a single color coded port for your external connection. The USB port on this device is actually unique to this and other more advanced routers and in this case, it allows the user to connect an external hard drive or memory stick to the port that can be shared across the network, more on that in a bit. Getting it ConnectedSo let's take a stab at getting this connected. We will be working from the vendor supplied DSL or cable modem and working our way inward towards the workstations in this exercise thus our first connection will be to plug a network cable into the DSL/Cable modem RJ-45 plug (there should only be one of these) to the yellow port of the WNDR3700. Next, we're plug a network cable into one of the available LAN ports on our wireless router. Congratulations, that's all there is to it in getting the physical connectivity. Configuring the RouterNext, you're going to have to perform some configuration work to get everyone talking. As mentioned in the article about TCP/IP, for TCP/IP networks to communicate you need a few pieces of information. It is important to understand that the role of the router is to route network traffic between the outside world and your internal network, hence its name. A router is a device that allows two networks to connect together while segregating those networks for management and security purposes. This is why you have both an external and multiple internal connections. The external connection is connected to the Internet (public) network and information is sent to and from the Internet from the internal network as requested by your internal network devices. As these are in fact two separate networks we have two separate networks we must configure, the external ISP side, and the internal network side. While this may sound confusing, modern routers and ISPs actually make this very simple on their side. Most ISPs today offering home or small business connectivity will usually provide a configuration service known as Dynamic Host Configuration Protocol (DHCP). DHCP simplifies connectivity to the vendor in that it automatically provides all of the required information your router requires to communicate with the outside world. To ensure this exchange occurs properly, always power up the Cable/DSL modem first and wait a couple of minutes to ensure it has properly started up, then turn on your wireless router and give it a couple of minutes to boot up as well. The process will allow the router to communicate with the ISP and receive the required configuration information. The information received will include the IP address the vendor is assigning your device, a subnet mask, a default gateway address, and one or more DNS servers. If these terms are unfamiliar to you please read our What is TCP/IP article for an overview of these concepts. At this point your router should be connected and you are ready to move on to the next step.
| |||||||
|
Copyright (c) 1997 - 2011 - All Right Reserved - pcNetworking.com

